
Notebooks are now priced quite attractively. Entry-level notebooks for home use are already available for less than €500 when new, and gaming notebooks are now also available for €800 depending on the performance class. However, these entry-level devices often only have a small SSD or even a hard drive installed as fixed storage, and devices with a larger SSD cost a disproportionate surcharge. As an end customer, however, you can easily do the swap or upgrade yourself for little money.
The test device
In our case, we bought a Legion Y540 in the Lenovo sale. With the GTX1660TI and an Intel Core i7 9750H, the device was extremely well equipped for this price range. Unfortunately, only a 128GB NVMe SSD is installed as standard, which is simply too tight for a gaming notebook. Lenovo’s own version with a 500GB SSD would have been over 100€ more expensive than our test device. For this reason, we ordered a Crucial MX500 (link*) in the 500GB version for about 60€ to expand the notebook with it.
The installation
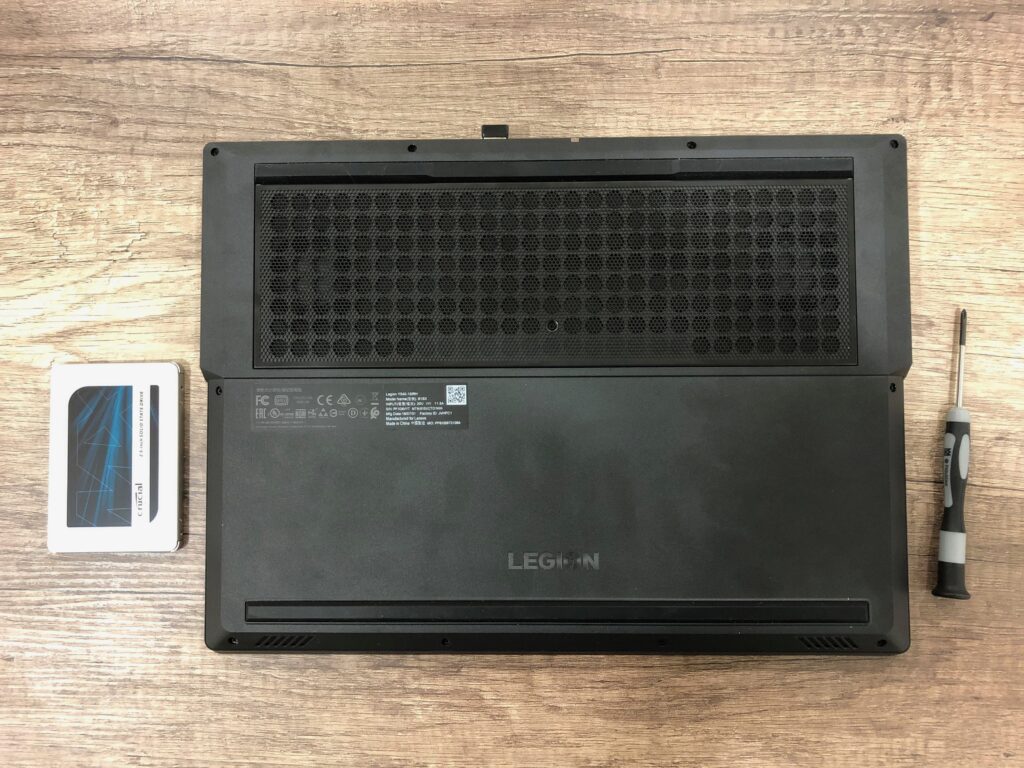
In the first step, the notebook should be placed so that the back is easily accessible. To avoid scratches on the case lid, a soft surface should ideally be used when the device is on the table. Now all screws have to be loosened from the case bottom. In our case, the bottom was fixed with 11 screws.
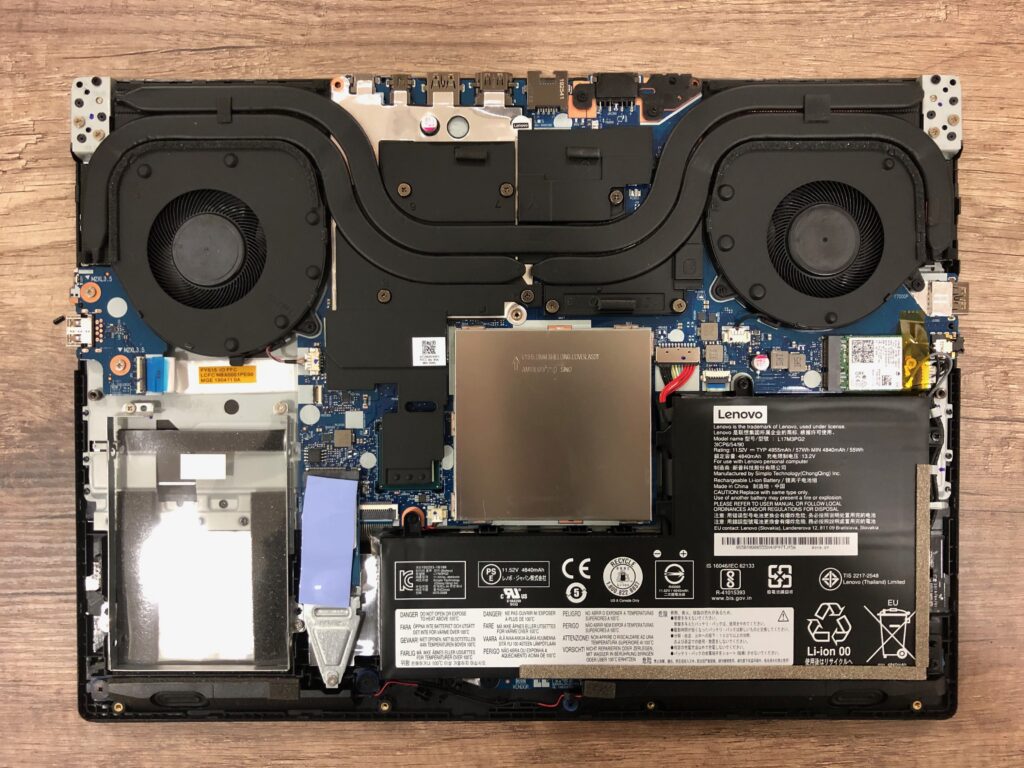
After that, the back can be removed with a screwdriver and some patience.
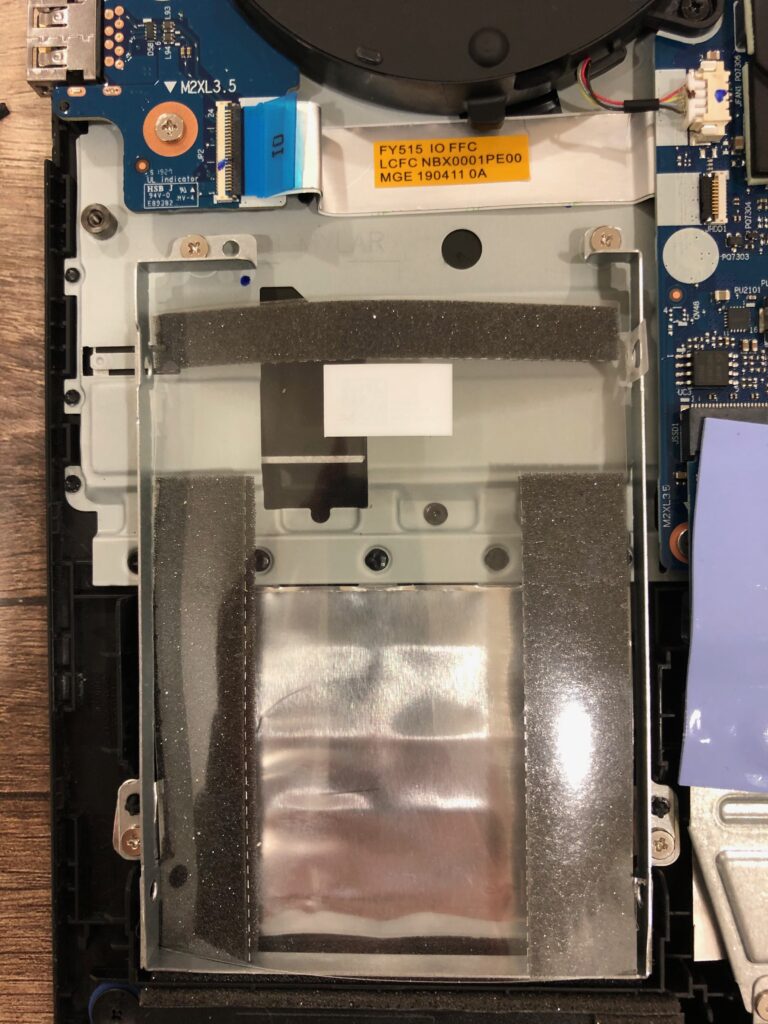
In the lower, left area is the installation slot for the 2.5″ drive. This was completely empty in our device, but devices with an installed hard drive have it inside. This bay is secured with 4 screws that have to be loosened for installation.
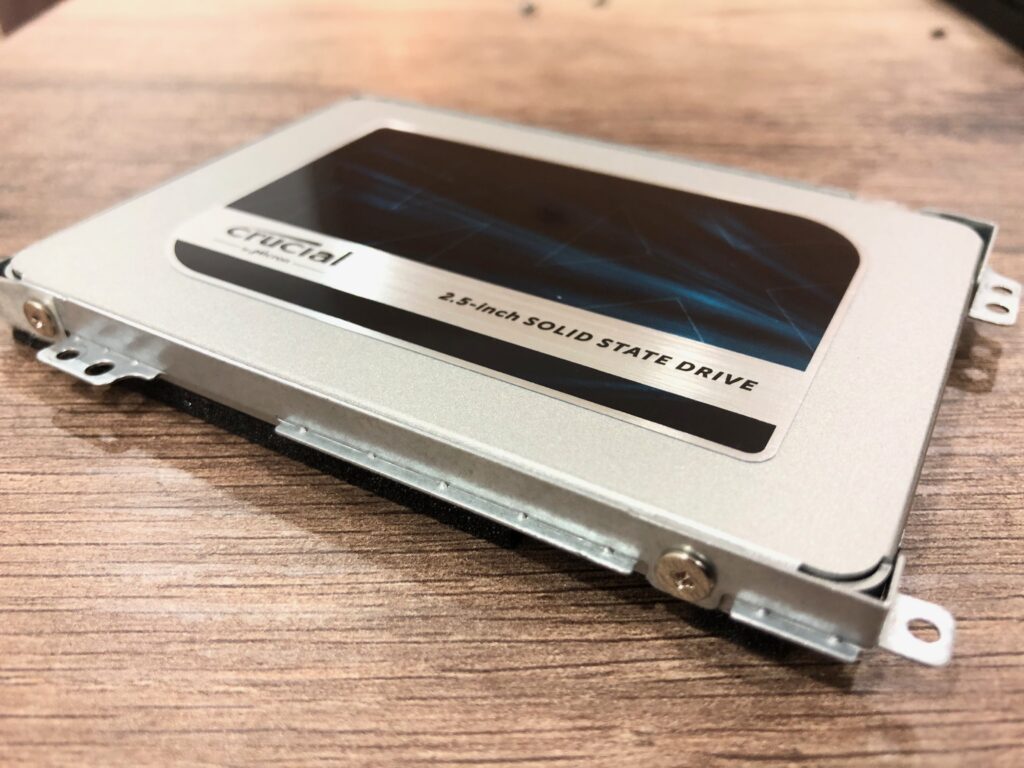
The new hard drive / SSD is now screwed into this slot. The screws required for this are usually included with the notebook. If a hard drive was already installed, these screws can of course still be used.
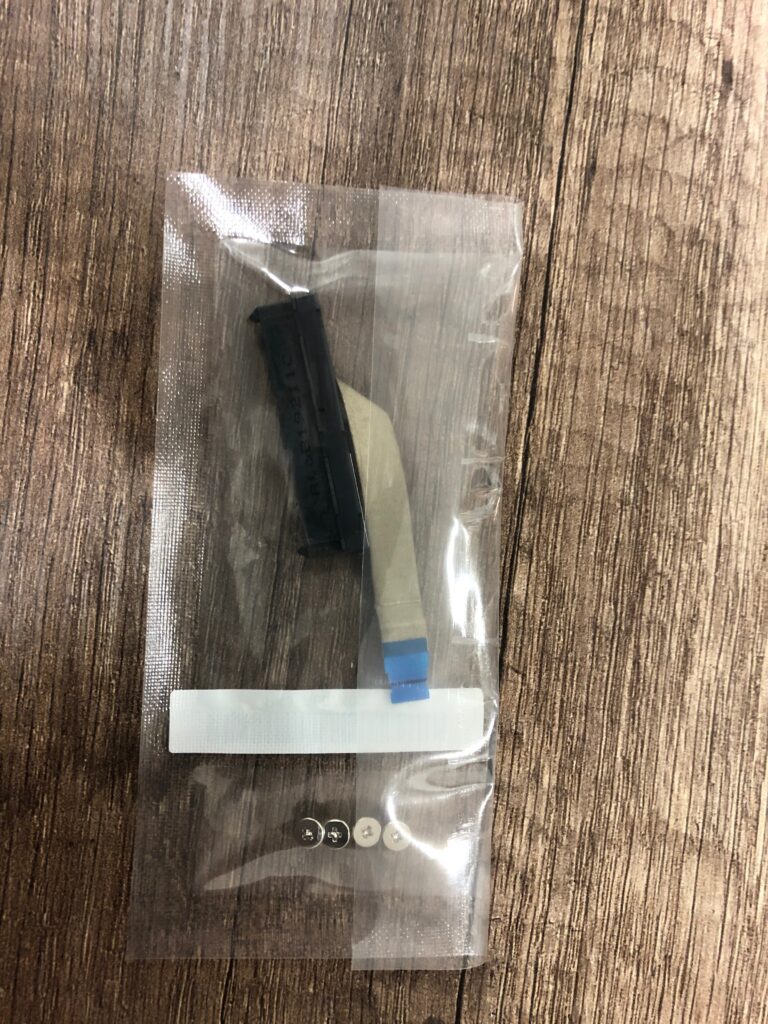
Notebooks usually need a separate connection cable for connecting the new SSD due to the lack of space. This is also usually included in the notebook’s scope of delivery.
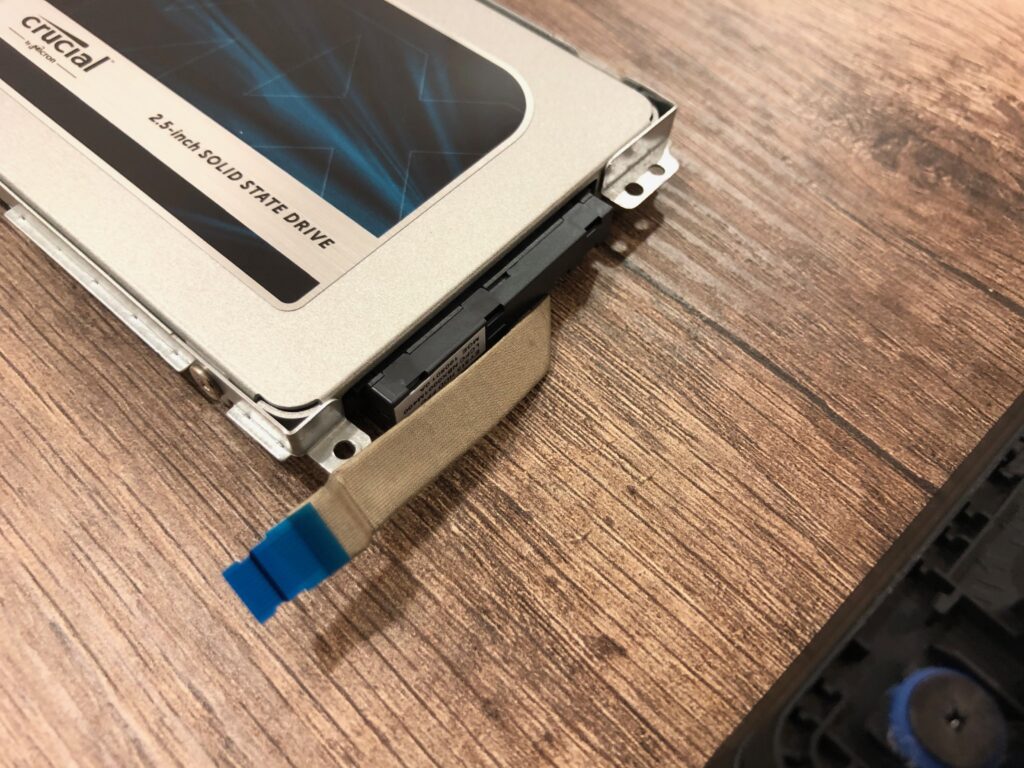
This connector is simply plugged onto the SATA + power connectors of the SSD and plugged into the notebook at the slot right next to the drive.
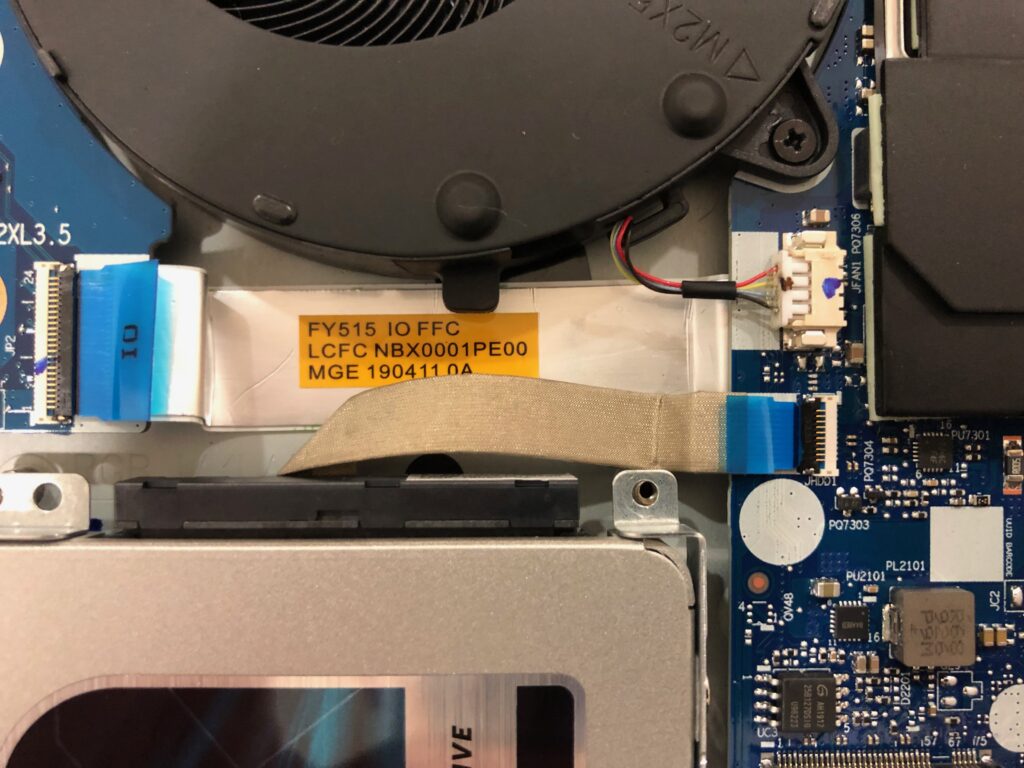
Now the hard drive cage can be fastened again with its 4 screws and the back of the notebook can be screwed down again. The installation is complete.
The hard disk setup
If the built-in hard disk / SSD is a second drive, the new drive must still be partitioned in Windows.
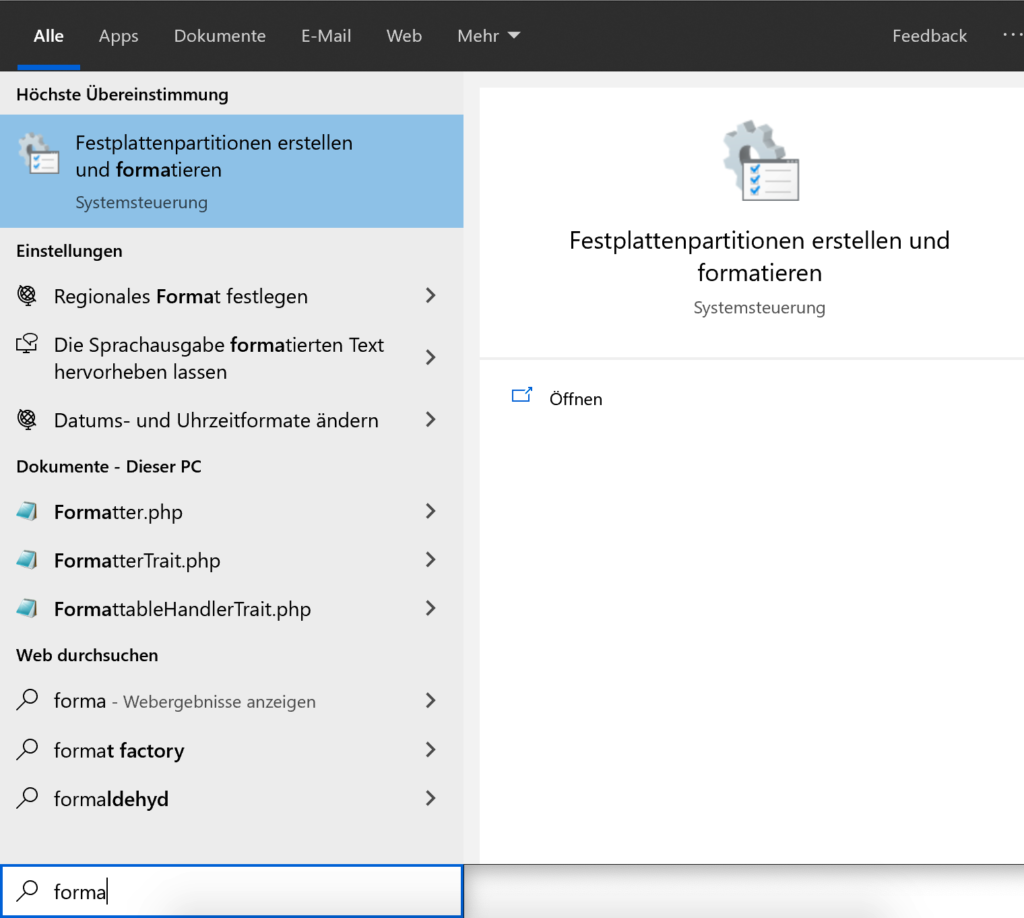
To do this, simply call up Disk Management via Windows Search and right-click on the new disk to add a “simple volume”. When the wizard is closed, the hard disk is still formatted and is fully ready for use.
Conclusion
It takes about 10 minutes to replace the hard drive. The procedure is identical for most common notebooks, only the positioning and number of screws differ.
Compared to the upgrade directly from the manufacturer, we not only saved about 60-70€ this way, but also have more storage space available since the 128GB SSD was kept as the system disk.
