
League of Legends is still the most streamed game on Twitch. Due to the low system requirements and the very good free-to-play model, the game attracts extremely many players and thus streamers. With our new tool, we can create in-game alerts that are triggered by in-game events!
Installation
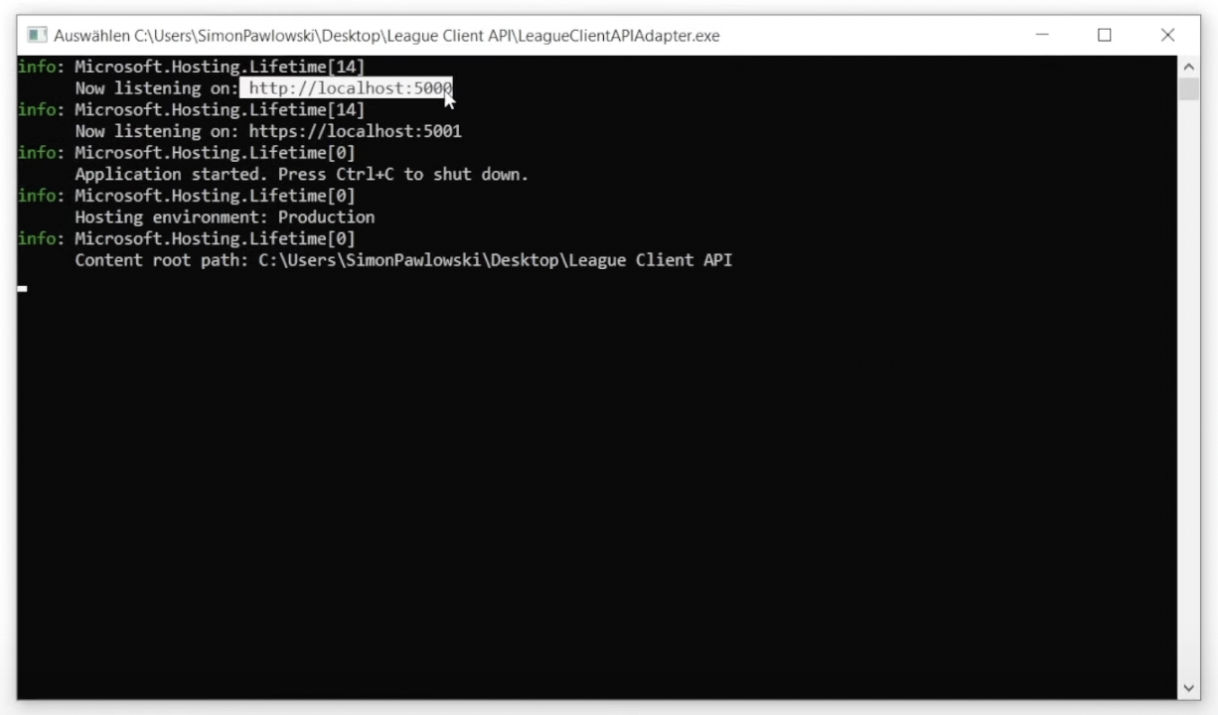
The tool itself does not require any installation. To start the web server directly, we just need to open the .exe file in the unzipped folder. The console window will then show us at which address the page is accessible. If we don’t want to start the tool manually for each stream or if the console window bothers us, we can also set up a permanent server in Windows. The procedure for this is described in the section “IIS setup“.
To run the tool you only need .NET 6 from Microsoft.
Download .NET 6
Setup
The configuration of the tool runs completely via the web browser. Depending on the installation type (.exe file or IIS), the web interface can be accessed via https://localhost:5001 or http://localhost:80 (80 corresponds to the port we have set in the IIS manager).
In the left menu bar we find the two menu items:
Live
The live page is later integrated into OBS. Here the readout as well as the display of the set alerts and information takes place. In addition, it can also be used through the console for troubleshooting if something does not work as desired.
Settings
On the Settings page we store our general settings as well as the stored configurations for the triggers and displays. A trigger defines the rules that must be fulfilled for an alert to be triggered. A display is a “formula” that permanently shows certain information from the running game.
General Settings
In the general settings we can store the interval for retrieving the data. A value of 500ms is recommended here. The tool then queries the data from the game interface twice per second and can react quite quickly to incoming events. We can also specify that the live page starts automatically as soon as it is called. For the integration into OBS this setting is mandatory, because otherwise no data will be retrieved and displayed.
Trigger
Triggers check if the set conditions are met to play an image, gif or video. The configuration is done using the event data from the game interface. Riot Games has provided a sample file to view the possible values of each field.
If we have a lot of trigger files, we can also move them to the folder manually instead of using the upload button. The files must be in the wwwroot/triggerfiles folder. Here we can also check which files are already there or if we forgot a filename.
The fields “EventName” to “AcingTeam” are the fields for the interface, the fields “File”, “IsVideo” and “Duration” are the fields of the tool.
In the “File” field, the file name of the file previously uploaded via the Upload button is entered. If this is a video, the “IsVideo” checkbox must also be selected. The “Duration” determines how long the file should be displayed.
Now, if we want to create an alert that displays the image “Pentakill.jpg” for 5 seconds when we make a pentakill, we need to fill the following fields:
EventName: Multikill
KillerName: [me]
KillStreak: 5
File: Pentakill.jpg
Duration: 5000
Additionally, if we want to play this alert only when we play Yasuo, we need to replace the [me] in KillerName with [me(Yasuo)].
Displays
Displays can access the entire data of the interface. Herewith, for example, a CS/minute display or the live calculation of the K-D-A can be realized. This works via formulas. A formula has the following elements:
Interface data: This data comes from the interface and is defined in [square brackets].
Mathematical expressions: These can be used to “calculate” the data that is read. The definition is made in {curly brackets}.
For a CS/Min display, the formula would look like this:
{[activePlayer.scores.creepScore]/([gameData.gameTime]/60)} CS/MinSo we read the current CS value and divide it by the playing time in seconds divided by 60 to get the minutes.
Again, Riot Games has provided a sample file for the entire interface data.
Unfortunately, the CreepScore value from the interface currently only returns values rounded to 10. The developers are aware of this, but we don’t know if exact values will be returned in the future.
Add source in OBS
To make the configured areas visible in OBS (or Streamlabs OBS), we work with the “Browser” source. This source represents a website directly in the scene and is therefore ideal for external content. So we add a new browser source via the “+” symbol and assign an arbitrary name.
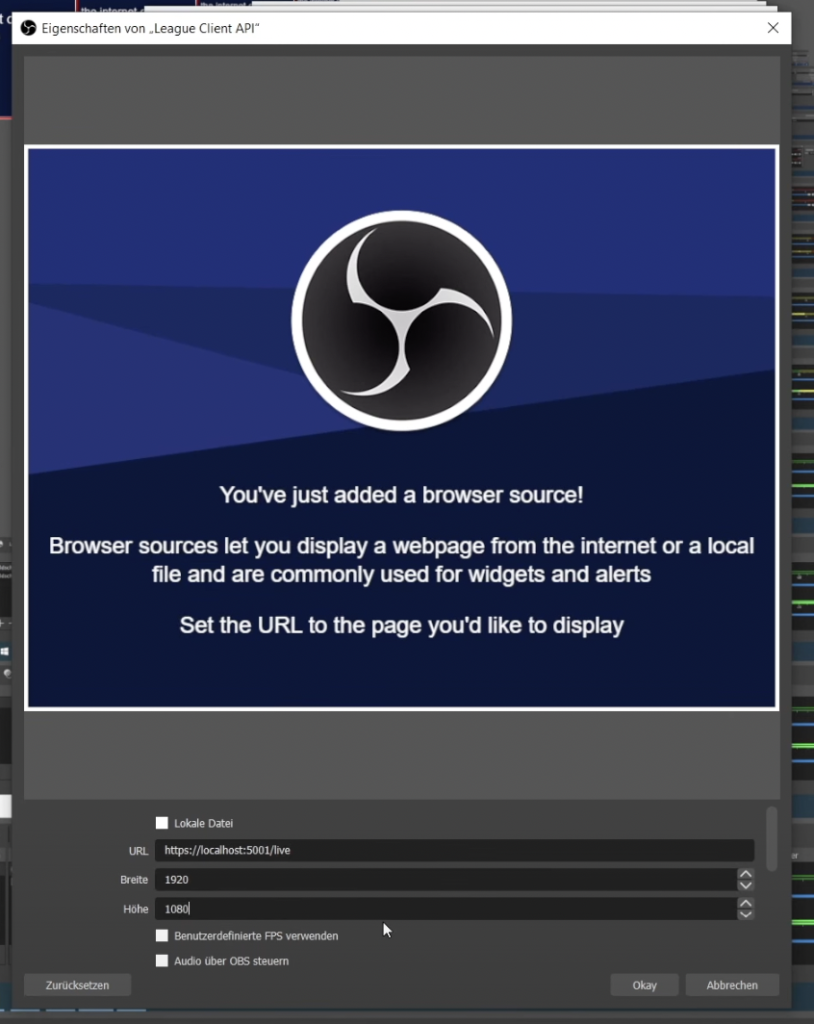
Under URL we enter the address (incl. port) of our live page. For width and height we should use the size of our OBS canvas. In most cases this is 1920×1080. To be able to control the volume via OBS when using video files, we should also check the box “Control audio via OBS”. After clicking Okay, the result in OBS looks something like this:
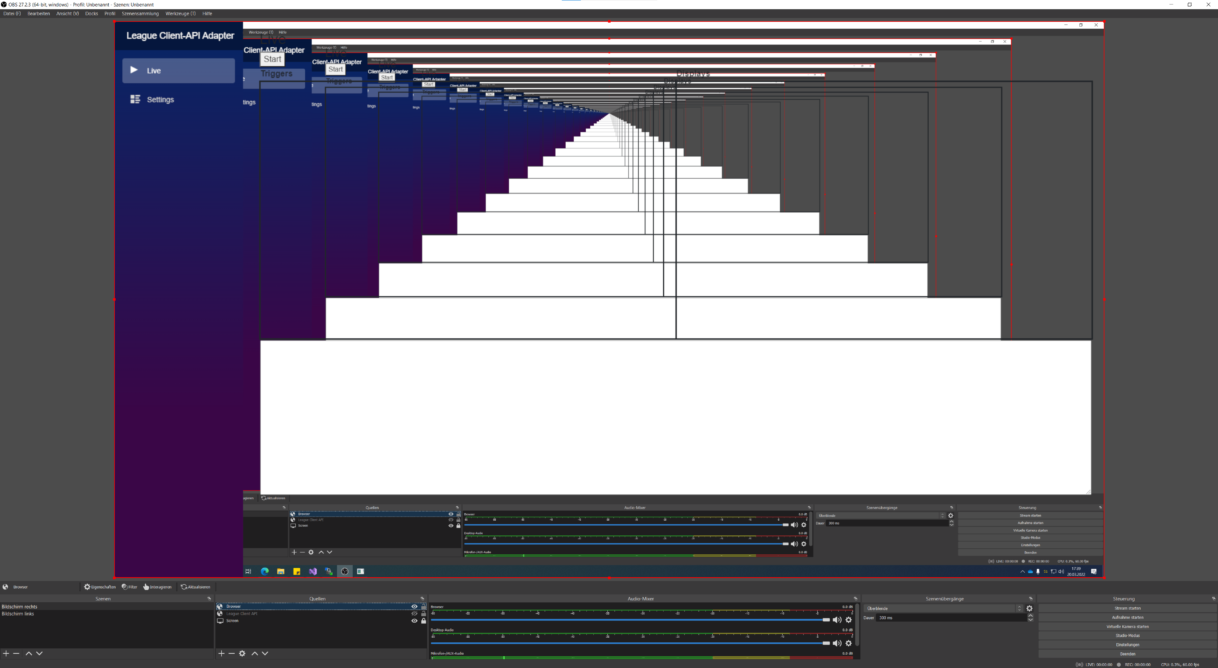
OBS automatically sets the background to transparent, so the result looks a bit strange at first. To limit the display to the alert area, we have to crop the display area of the BrowserSource. To do this, we hold down the Alt key (as described in the OBS Basic Guide) and drag the outer handle points inwards. As long as no alert is active, the area is then transparent and will not show any content until a trigger is fired. Now we can move the area as we like.
IIS setup
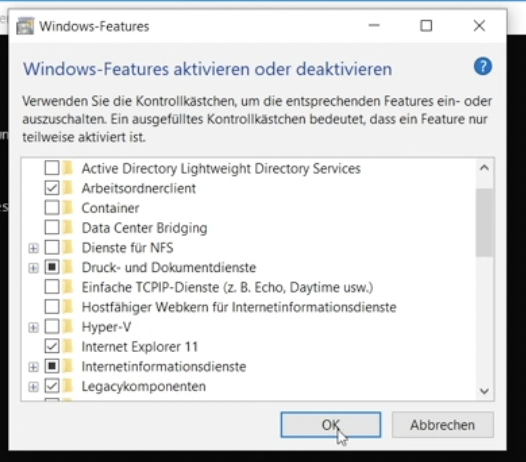
To run the server permanently in the background, we need the IIS from Microsoft. This can be easily installed via the Windows features. For this we set the “check mark” (or box) at Internet Information Services.
In order for IIS to handle modern .NET Core / .NET Standard applications, we also need the hosting bundle from Microsoft.
The downloaded file just needs to be executed by double-clicking on it, no further configuration is necessary.
Once the hosting bundle is installed, we can open the IIS Manager via the Windows search function. There we can already see our PC in the left bar. We can delete the already existing default site and then create a new website by right-clicking on Sites -> Add Website.
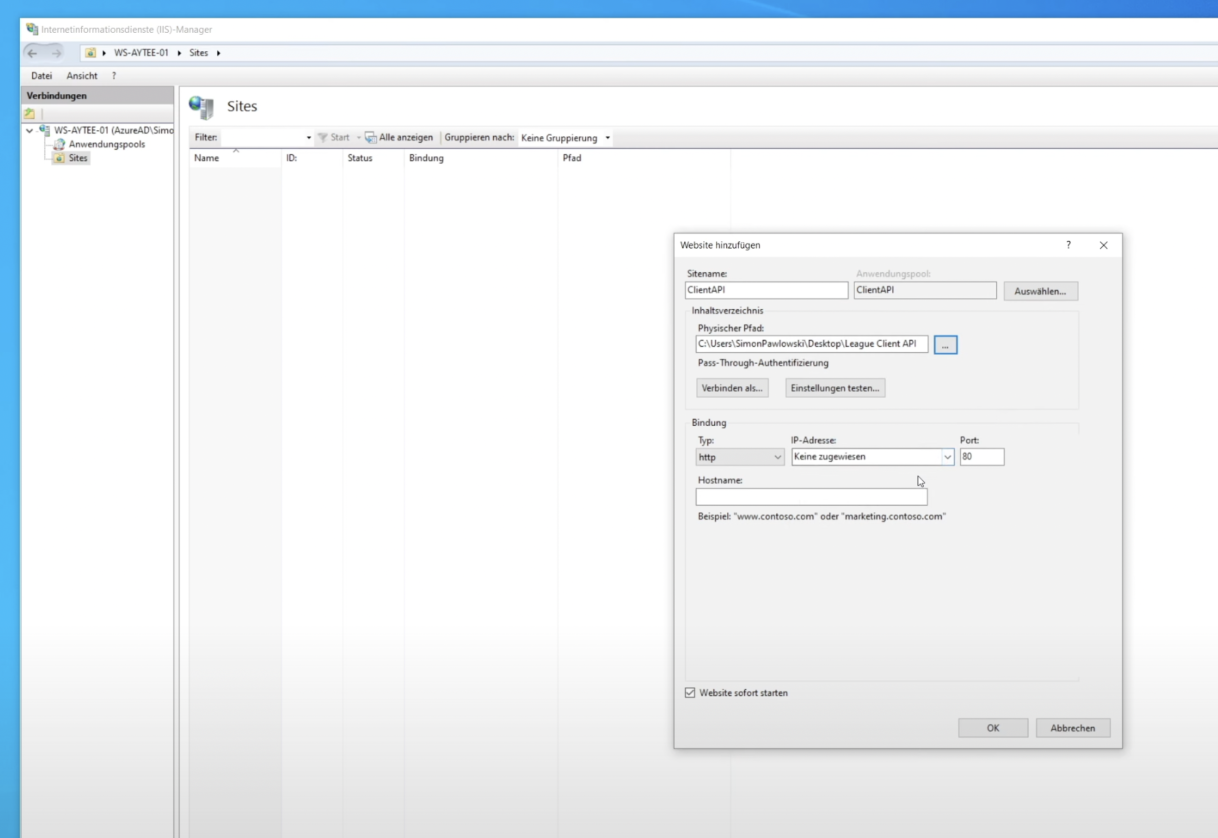
In the dialog we set a name for the website and specify the path where our application is stored. Further settings are not necessary as long as no other application is installed to use port 80.
Now the page can be opened in the browser via https://localhost/settings. We can now close the IIS Manager, from now on everything runs automatically in the background and does not need to be touched further.
Downloads
Download “League Client API Adapter”
LeagueClientAPIAdapter_1.0.0.0.zip – Downloaded 3005 times – 335.42 KB

