
Windows 11 has been available for users for almost half a year. If you have been using Windows 10 on a PC for the last 5 years, you might have already received a hint about it in Windows Update. However, Microsoft has been quite strict about compatibility from the beginning. For example, AMD Ryzen processors of the first generation (2017) are not officially supported. Intel Core processors of the seventh generation are also left empty-handed. However, the Windows 11 installation can also be performed on such devices, you just have to perform an additional step during the installation. In this guide, we will go through the preparation and installation step by step.
Preparation of the installation USB stick
For the installation we need a USB stick with at least 8GB. We also need an ISO image of Windows 11 and the Rufus software. With the help of Rufus, we can transfer the contents of the ISO file to our USB stick so that we can boot from it.
Download Windows 11
Download Rufus
Windows 11 Installation
Now we insert the USB stick into the PC on which Windows 11 is to be installed. We start it and go directly to the boot menu. This is usually done by pressing the F10 key, but it can vary depending on the PC manufacturer. A hint to the right button is normally shown directly at startup. In the boot menu we select the USB stick by pressing Enter. If several entries with the stick are visible, we select the entry with (U)EFI.
As soon as all data has been loaded, a window with the language selection greets us. The installation process hardly differs from the Windows 10 installation. After selecting the language, we click on “Install now”.
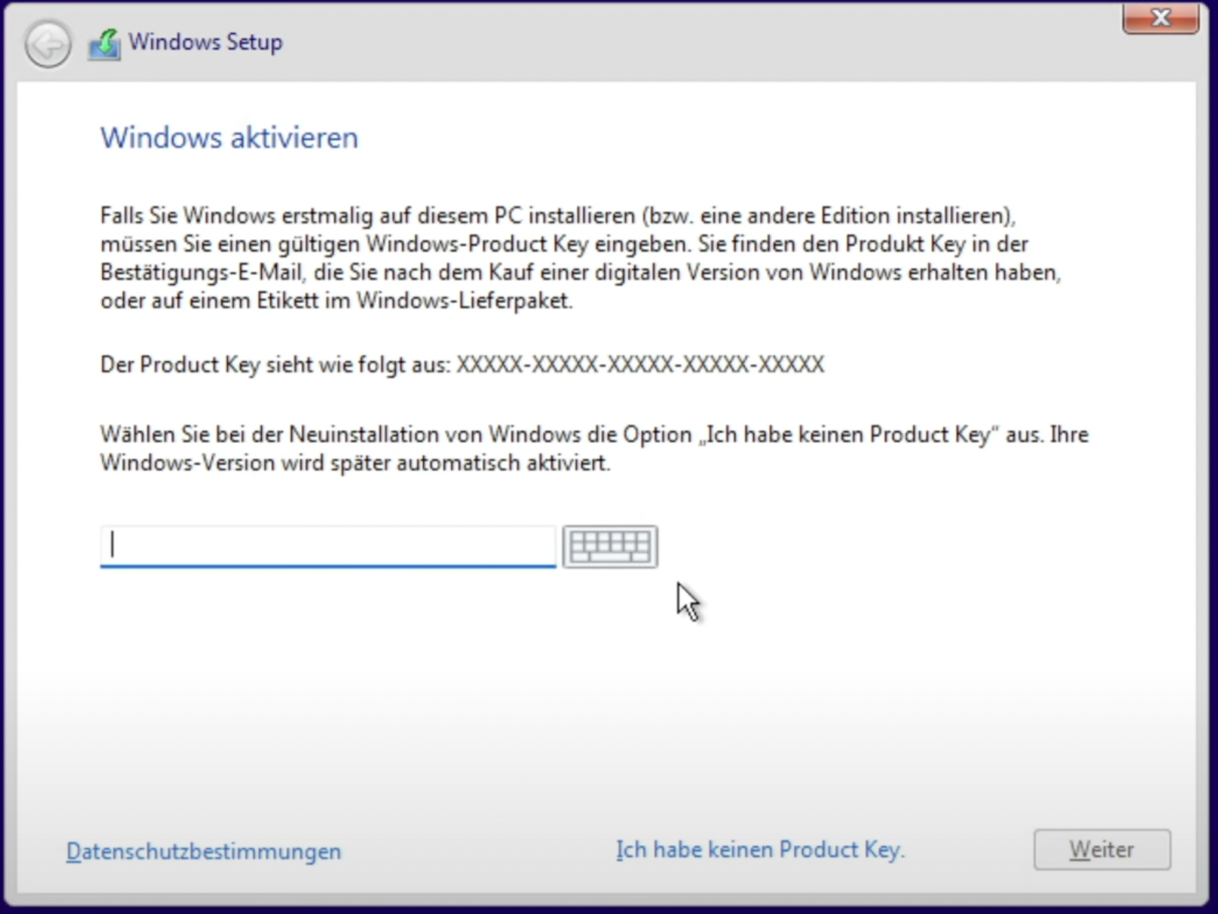
Now Windows requires a product key for the activation. We can either enter this key directly or activate it later. In this case we select “I don’t have a product key”.
After some waiting we get to see the version selection. Here we select the version for which our product key is suitable. In most cases, this is Windows 11 Home or Windows 11 Pro.
The compatibility check
If we started the installation on a non-supported PC, we will be greeted by an error message. If you do not see this message, your PC already meets the requirements for Windows 11 and you can skip these steps.

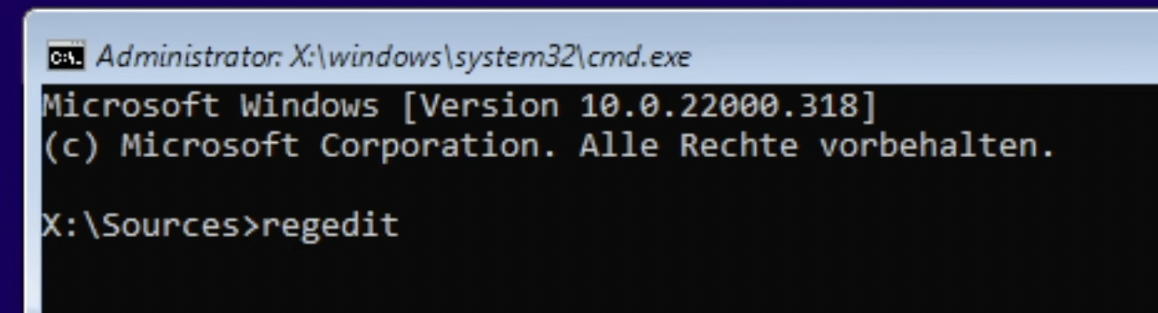
To bypass the compatibility check, we open the command prompt by pressing “Shift / Shift” + “F10”. On some notebooks or compact keyboards, the FN key must also be pressed for the F keys to work.
In the console window, we open the R egistration Editor via “regedit” command.
In the registry editor we navigate to
HKEY_LOCAL_MACHINE/SYSTEM/SetupThere we create a new key named “LabConfig” via right click -> New. Within this key we now have to create three DWORD entries.
BypassTPMCheck
BypassRAMCheck
BypassSecureBootCheck
Each of these values is now assigned the value 1 by double-clicking. The result should look like this:

Now we can close both the registration editor and the console window and press the Back button in the actual installation window. If we then click Next again, this time there will be no error message.
The further installation
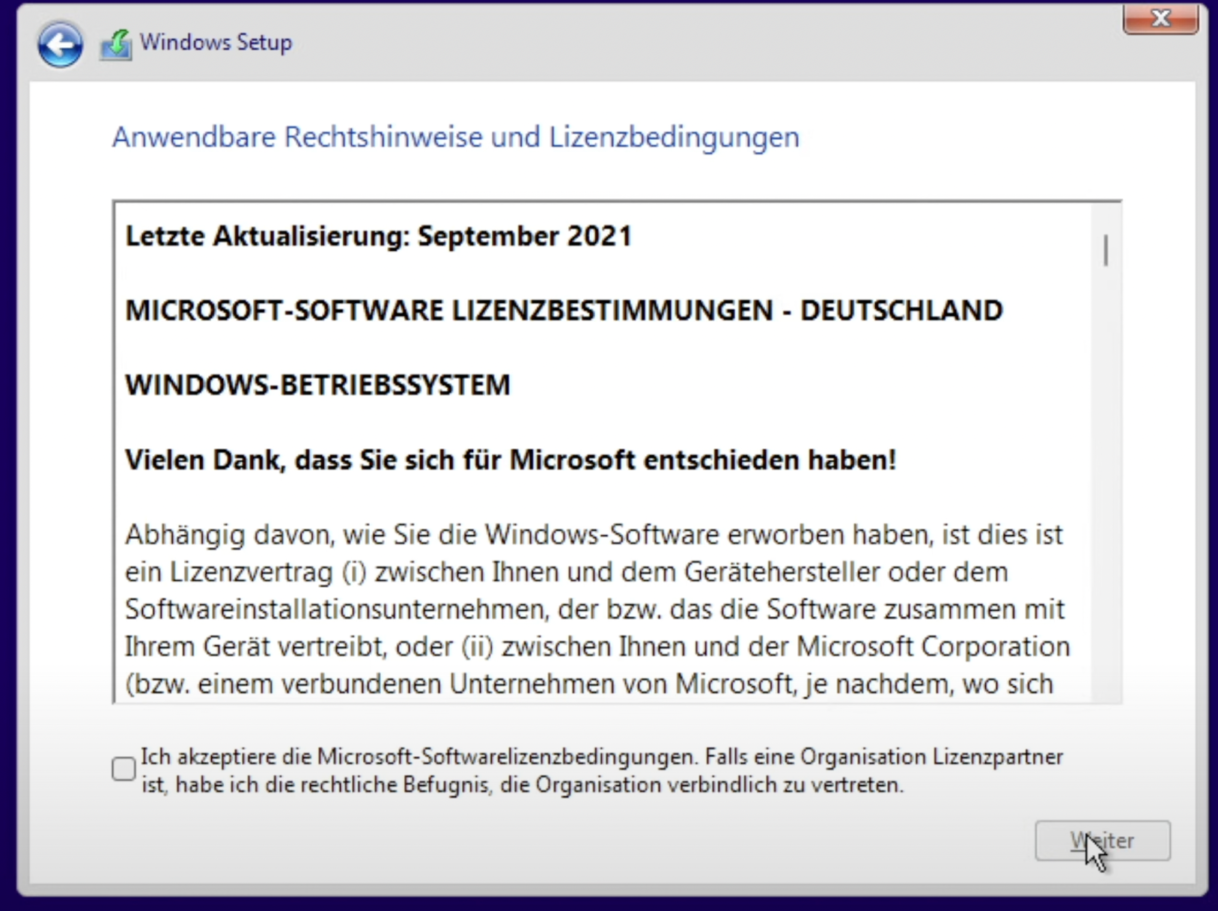
Next, the installer asks you to “read” and accept the license terms. We confirm these, of course, and confirm with Next.
In the following window we select the custom installation method. After that we have to choose the disk/SSD on which we want to install Windows. For a clean installation, it is recommended to delete all existing partitions of the desired disk, so that in the end only the entry “Unallocated space on drive X” can be seen on this disk.
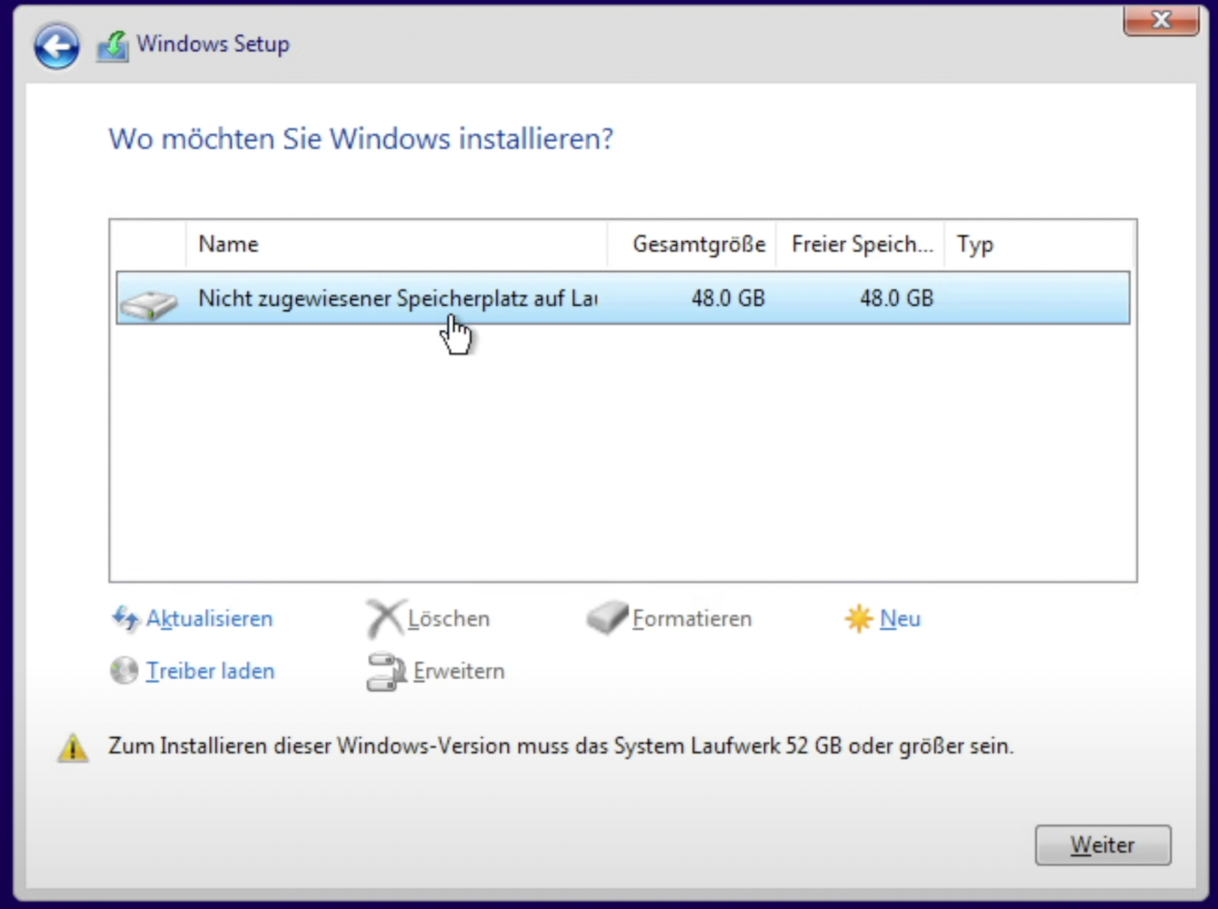
We select the drive and click Next to start the installation. Depending on the system, USB stick and hard drive used, this process may take a few minutes. After the installation is finished, Windows restarts itself.
Settings
After the restart we have to define some basic settings like language and keyboard layout. After that, we can directly name our PC. This step is not necessary and can be skipped. This name of the PC will then be used in the network for easier identification. If we enter a name here, Windows will restart another time. Otherwise, the installation continues directly.
After the eventual reboot, we have to specify whether the device is managed by work, school or university, or by us personally. In most cases, “Set up for personal use” is the right choice here. Now the login window for the Microsoft account appears. Here we log in with our existing account and continue. If we are using Windows 11 Pro or higher, we can also use an offline account under Logon Options. When we select this option, Microsoft of course again points out the great benefits of having a Microsoft account. Only after we have confirmed that we really want to create an offline account, we can assign our username and (optional) password.
To finish the setup, we need to set some privacy options. This is largely about what information Windows 11 is allowed to share with Microsoft. These settings are to be made according to personal preference. Windows has no restrictions in functionality if you decline these options.
Now Windows processes the settings and prepares for the first real start. As soon as we see the menu with the wallpaper, the Windows 11 installation is complete!


