Nowadays, installation via USB stick is the most common, fastest and also most convenient way to install Windows (or even other operating systems) on a PC. USB sticks are abundant in most households, so that an installation via DVD becomes unnecessary. In addition, many current PCs no longer have such a drive installed. Therefore, we provide a guide from preparing the USB stick to the finished Windows installation.
Voraussetzungen
- USB stick with at least 8GB (recommendation*)
- Windows PC to prepare the stick
- Media Creation Tool (alternatively Rufus if ISO file is available)
- Ideally a Windows license or license key
USB stick preparation
Media Creation Tool
The easiest way to prepare the USB stick for the Windows installation is via Microsoft’s own Media Creation Tool. With the help of this tool, you can download a (reasonably) up-to-date version of Windows 10 and automatically save it as an ISO disk image or have it played directly onto a USB stick.
Simply download the Media Creation Tool here on a working PC and insert the USB stick into the appropriate port of the PC. After starting the tool and waiting a short time, select the menu item “Installation media”.
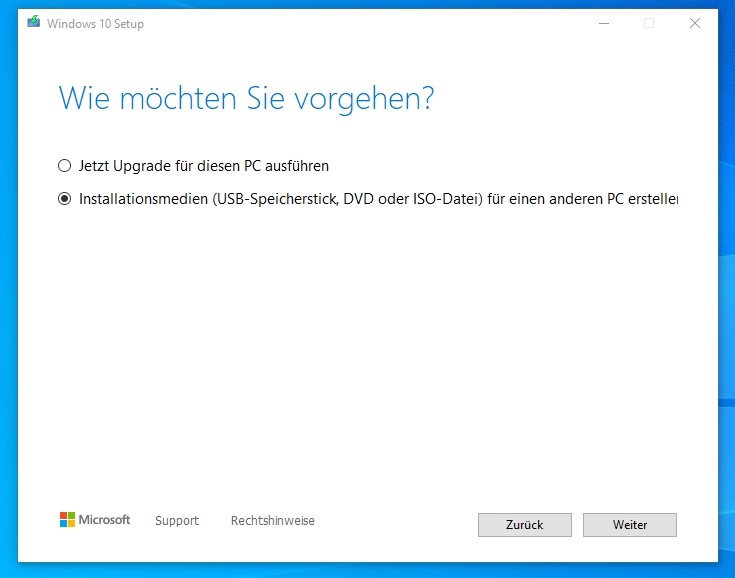
You can leave the settings for “Language, Architecture and Edition” at the recommended settings.
When selecting the medium to be used, select “USB memory stick” and confirm the selection with Next. In the next window select your USB stick and start the process.
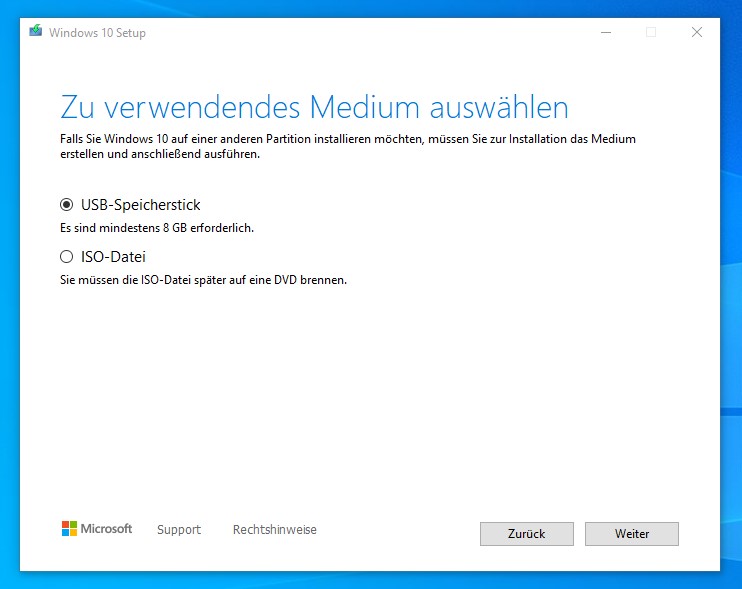
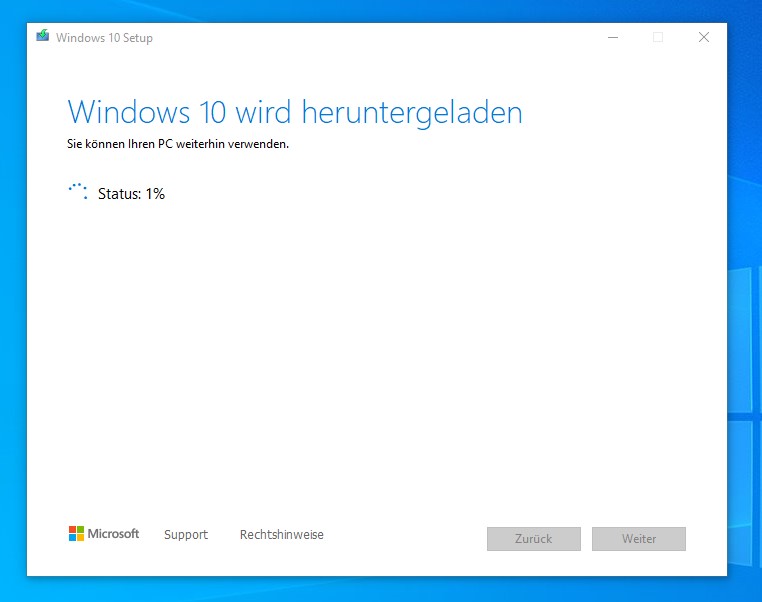
Now the tool starts the download from Windows and transfers it to the USB stick fully automatically.
Vorsicht: Der Inhalt des USB-Sticks wird dabei gelöscht!
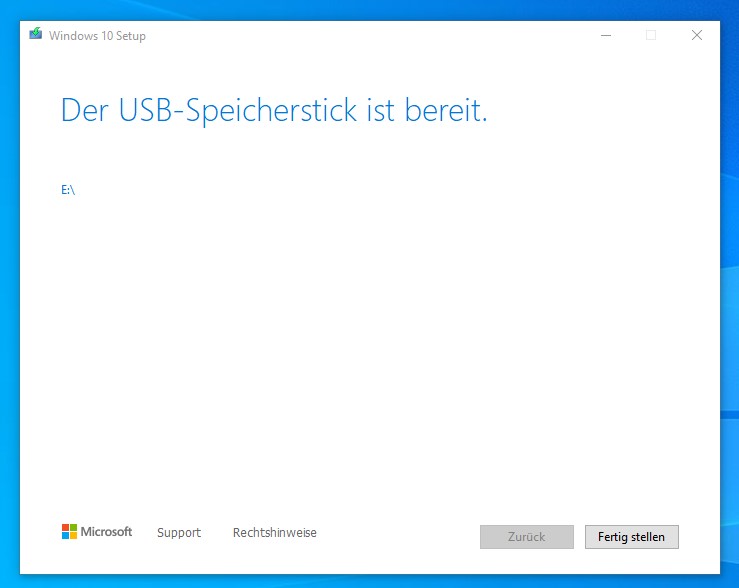
After a few minutes the process will be finished and you can exit the tool and remove the USB stick.
Rufus
If the creation via Media Creation Tool fails or you simply prefer to use another tool, it is also possible to create the stick via Rufus. In this case, you need an ISO file from Windows beforehand.
If required, this can also be created via the Media Creation Tool. To do this, simply set the point at ISO file when selecting the medium to be used and select the storage location.
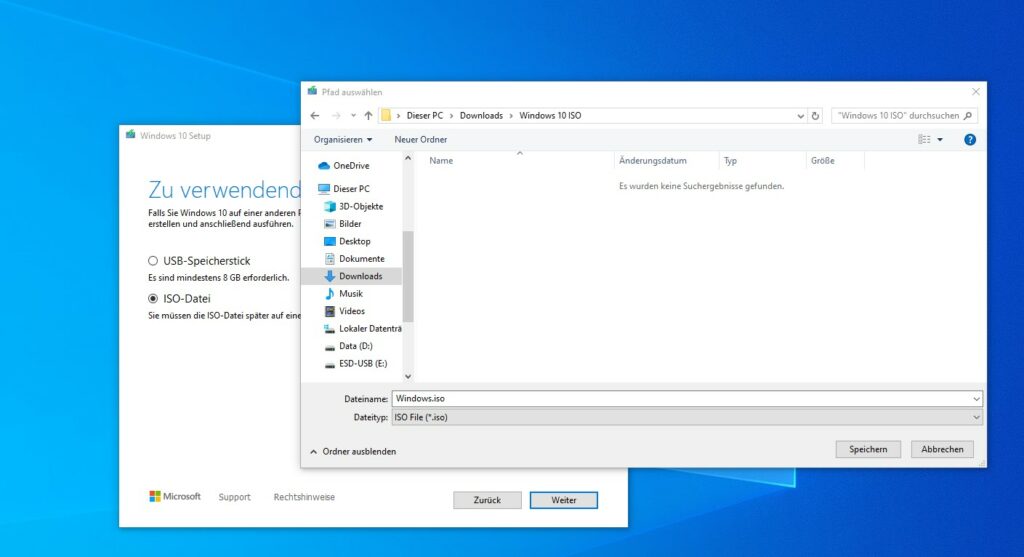
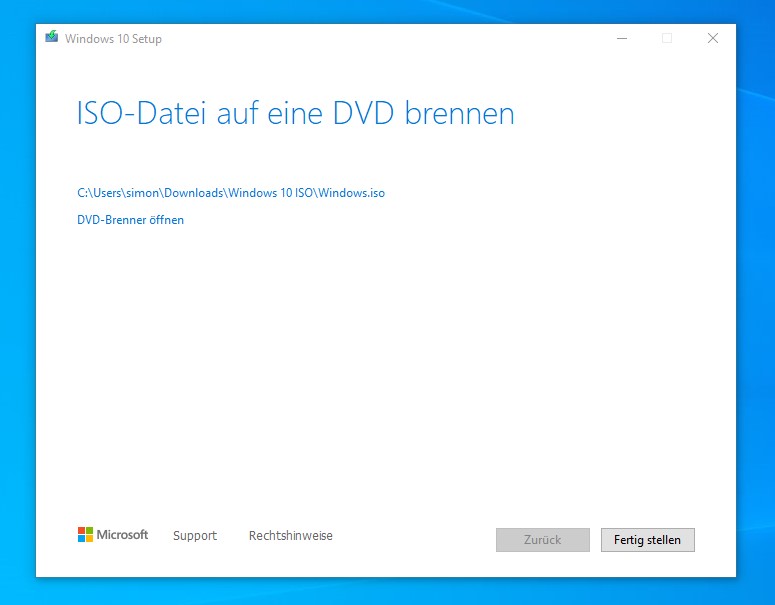
After finishing the operation you will find the required file at the stored path.
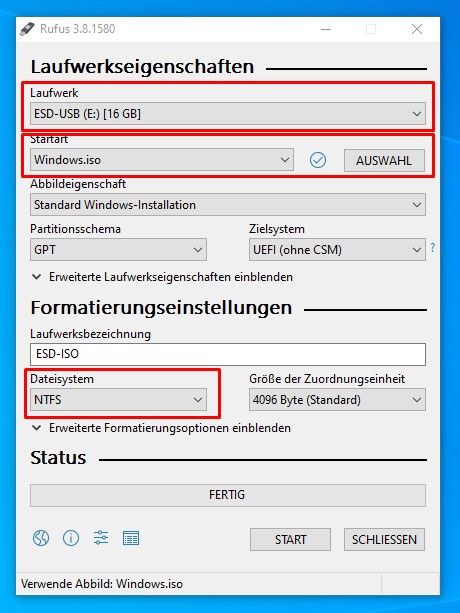
Now you can start Rufus and select your USB stick, the ISO file and the file system.
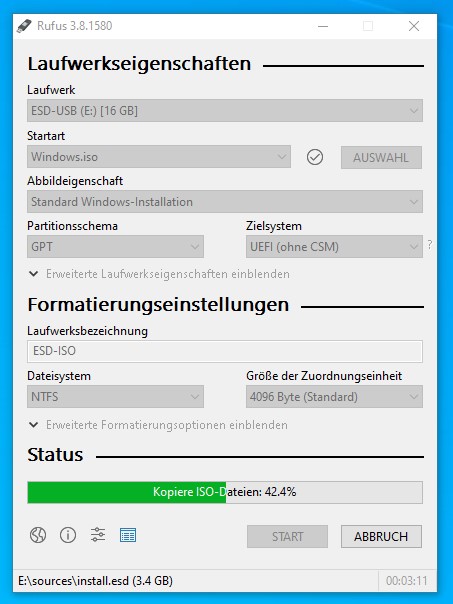
After clicking START Rufus starts writing to the USB stick.
After the operation is complete, Rufus will display a message that you can close. You can then exit the program and remove the stick.
Windows installation
Now you can insert the USB stick into the PC on which Windows is to be installed. Turn it on and press the displayed key to get into the “Boot Menu”. Mostly this is an F-key, e.g. F2, F10 or F12. If no hint is visible, the manual (or simple trial and error) should lead to the solution.
In this menu you select your USB stick as startup medium.
After that the Windows files should already load and after a short time show this menu.
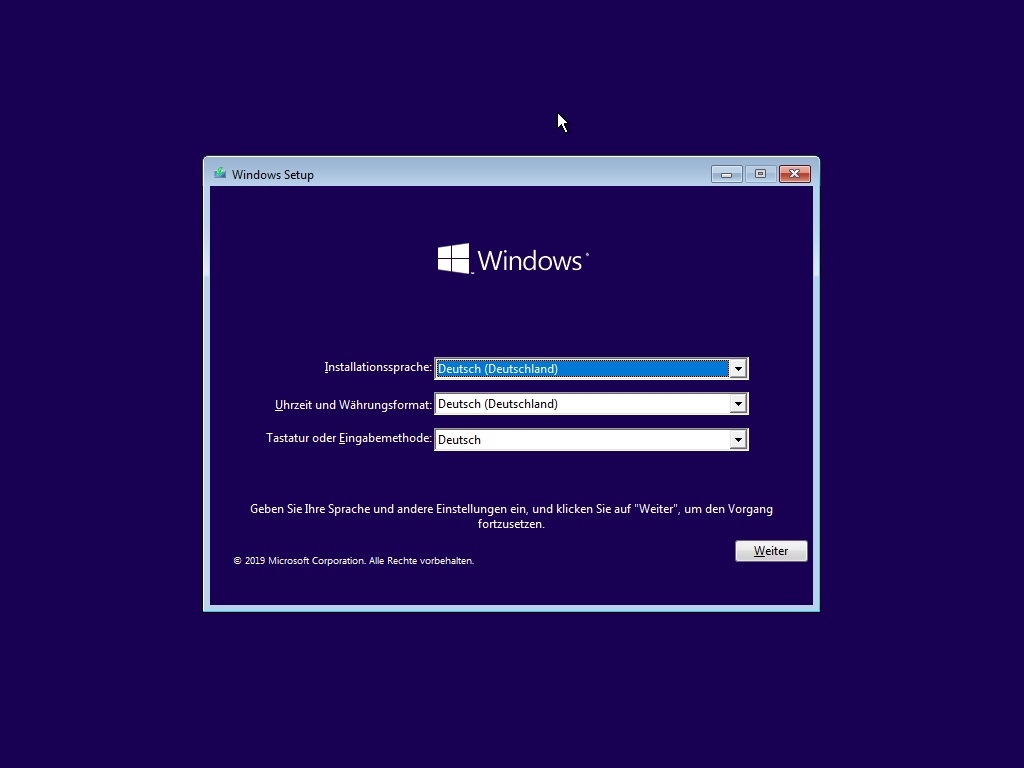
Select your desired language there and click on “Next” and “Install now”.
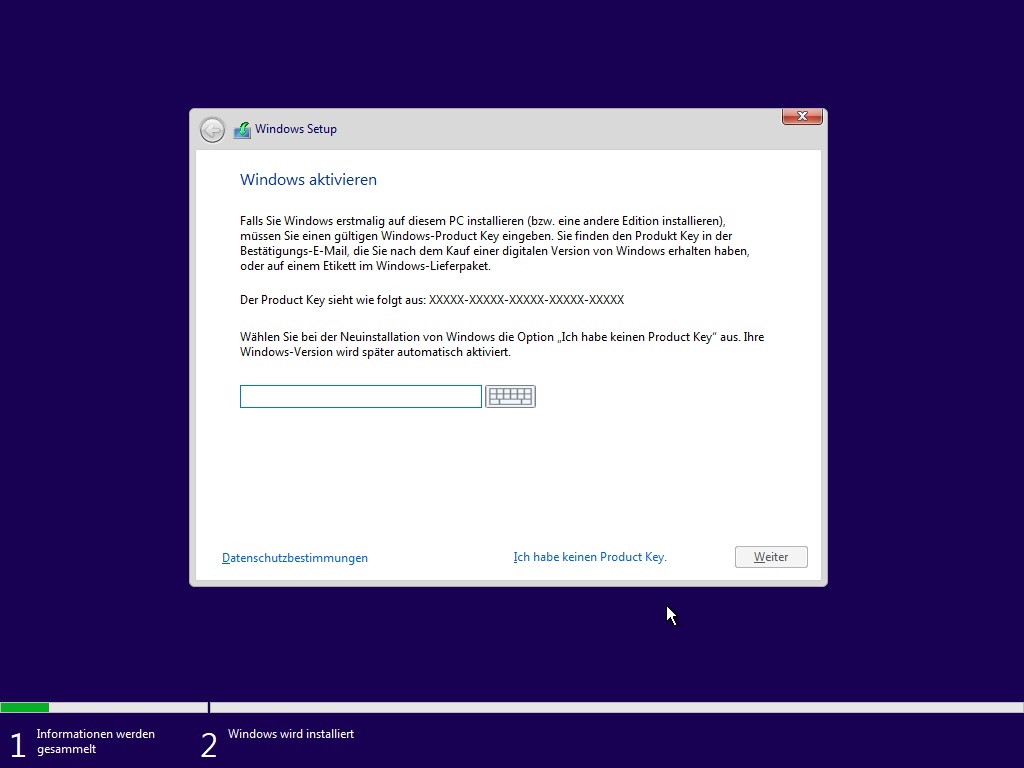
The installation wizard will ask for a product key. If you don’t have such a key, you can also continue by clicking “I don’t have a product key”. You can then enter the key at any time later via the Windows settings.
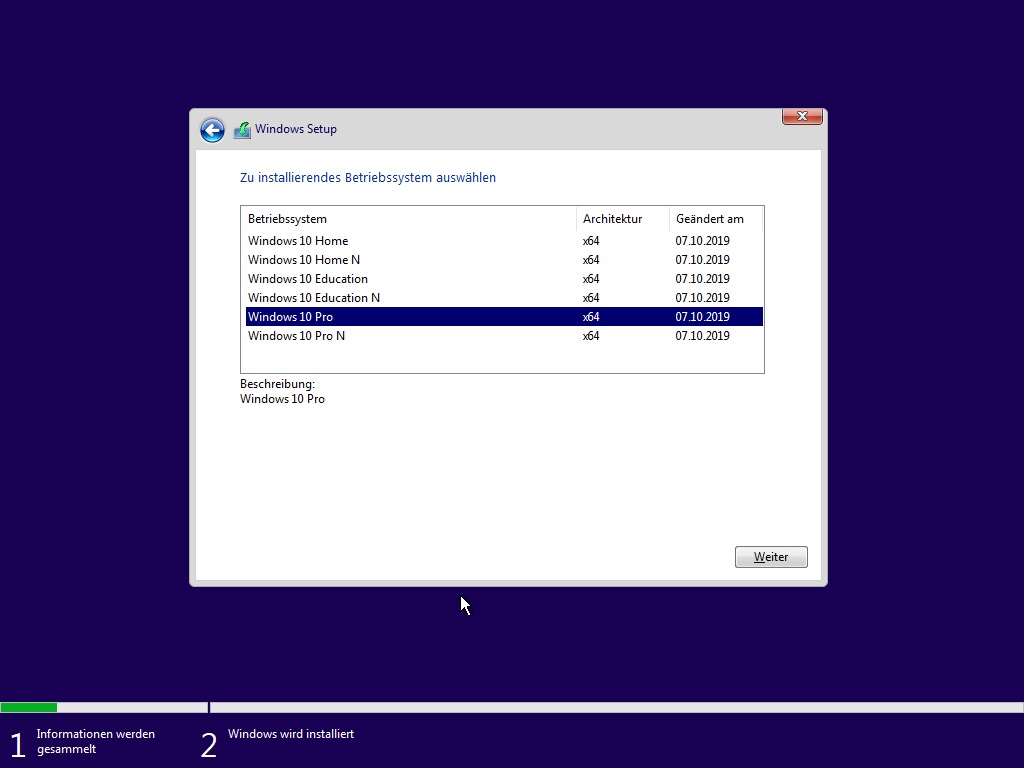
In the next step, select the Windows version for which your (future) license key is valid. In most cases this is either Home or Pro.
After that, select “Custom” as the installation type.
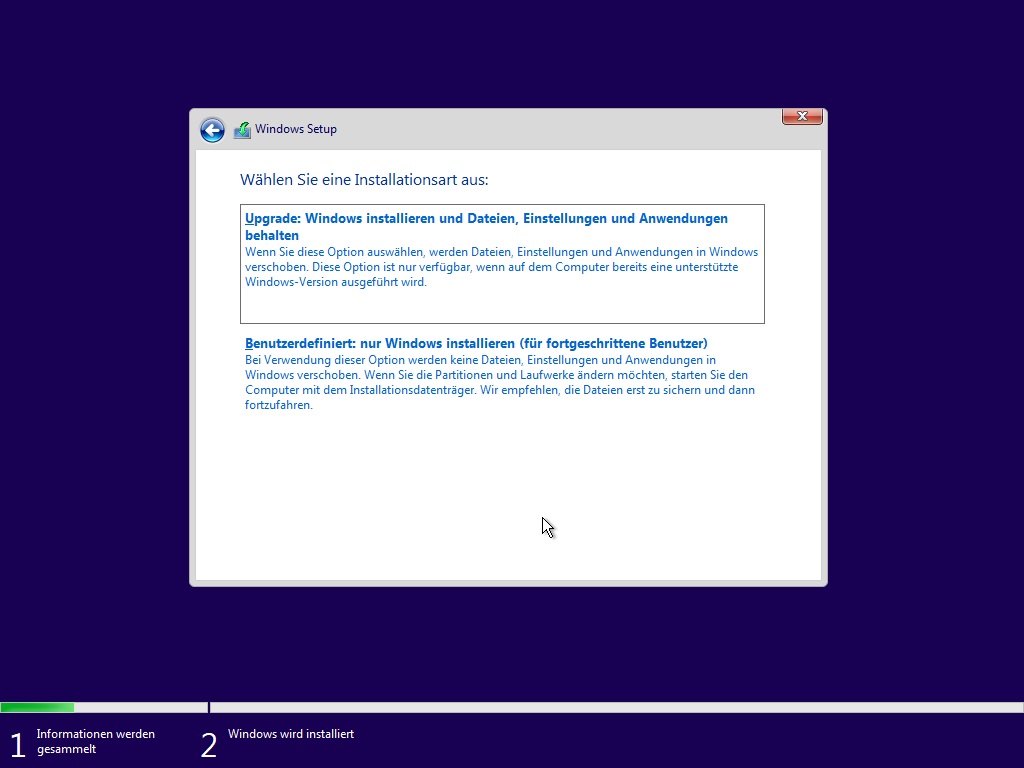
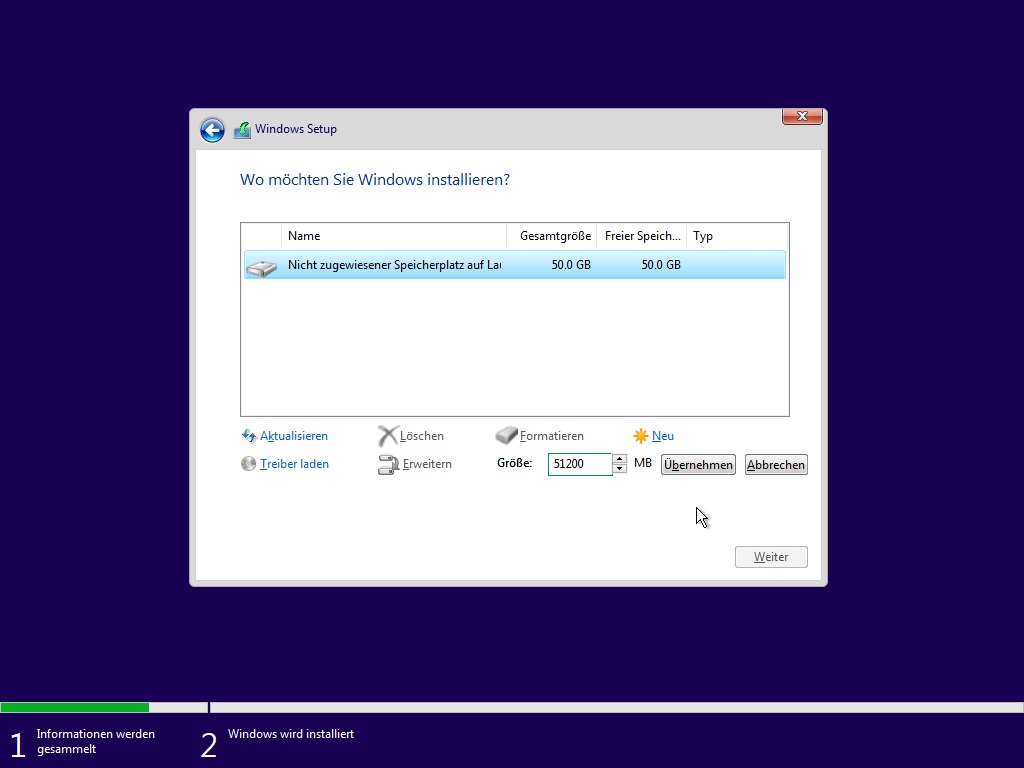
If several hard disks with already existing partitions are displayed, delete them until only entries with “Unallocated space on drive X” are visible. Then select the desired drive for the installation (usually the SSD), click on “New” and confirm the size with “Apply”.
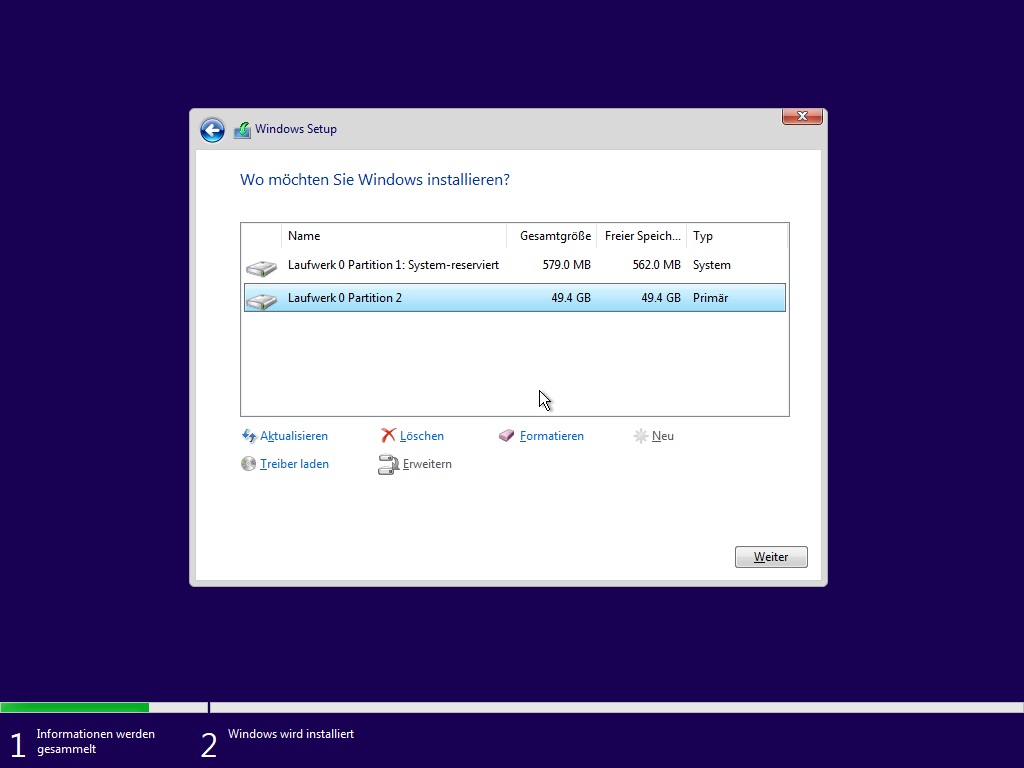
Then select from the newly created partitions the one that is of type “Primary” and click Next.
Now the installation starts. This usually takes about 5-10 minutes and ends with an automatic restart of the PC.
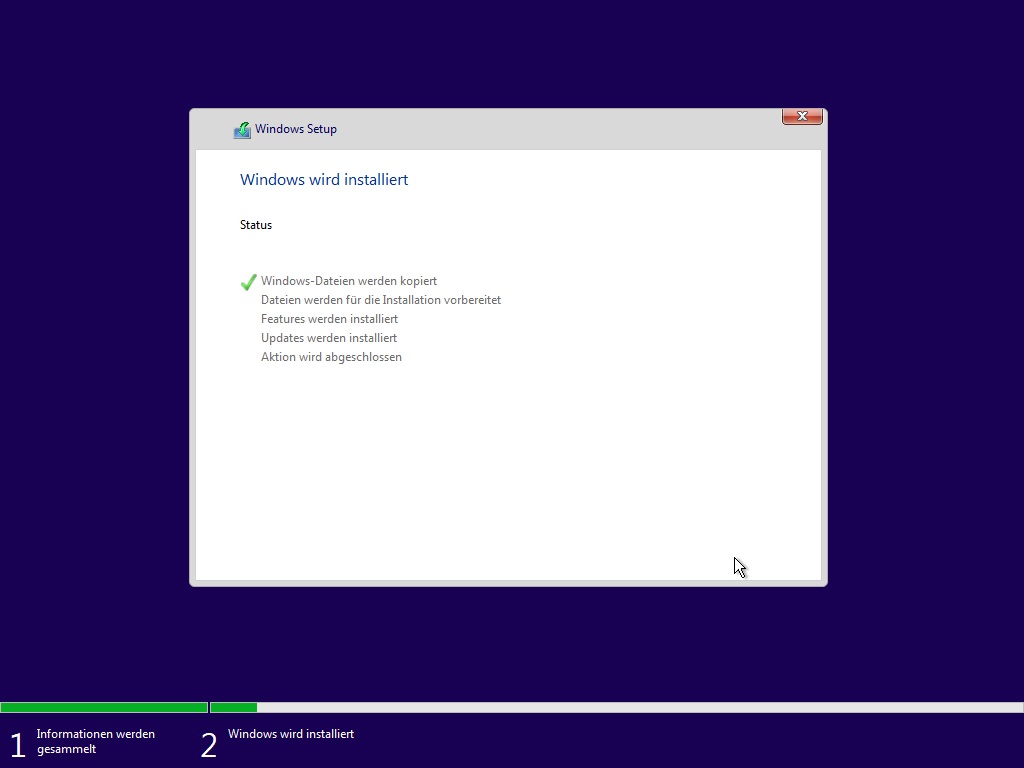
When this reboot is done, you can remove the USB stick from the PC again.
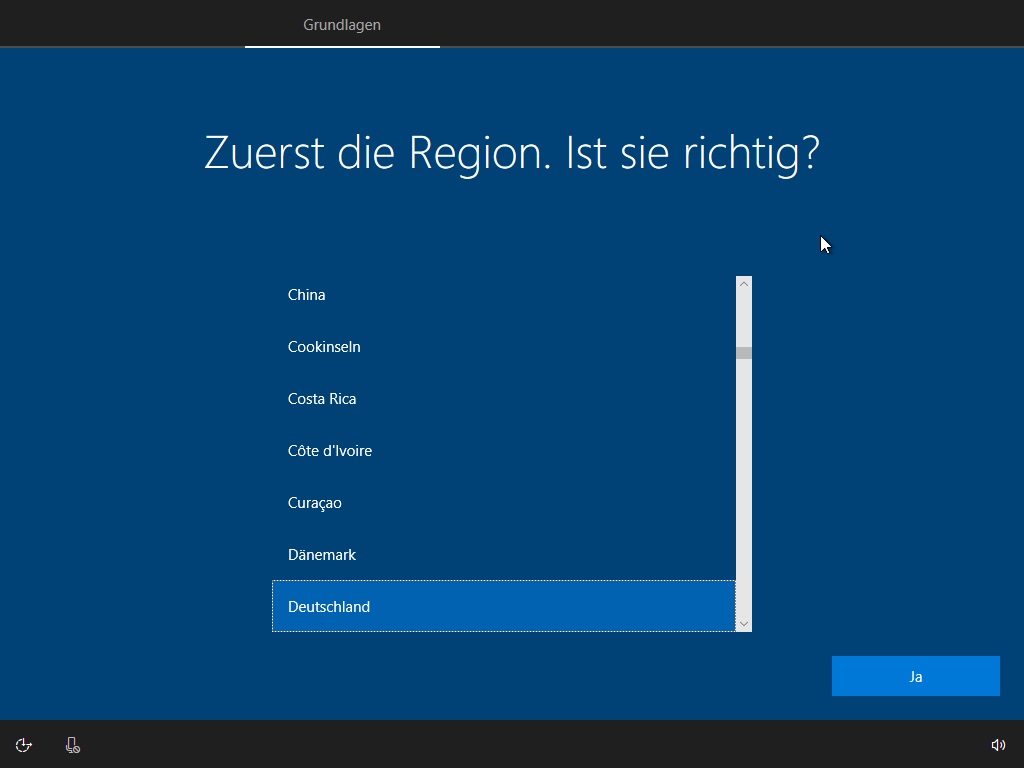
When asked for your region and desired keyboard layout, select your settings and confirm.
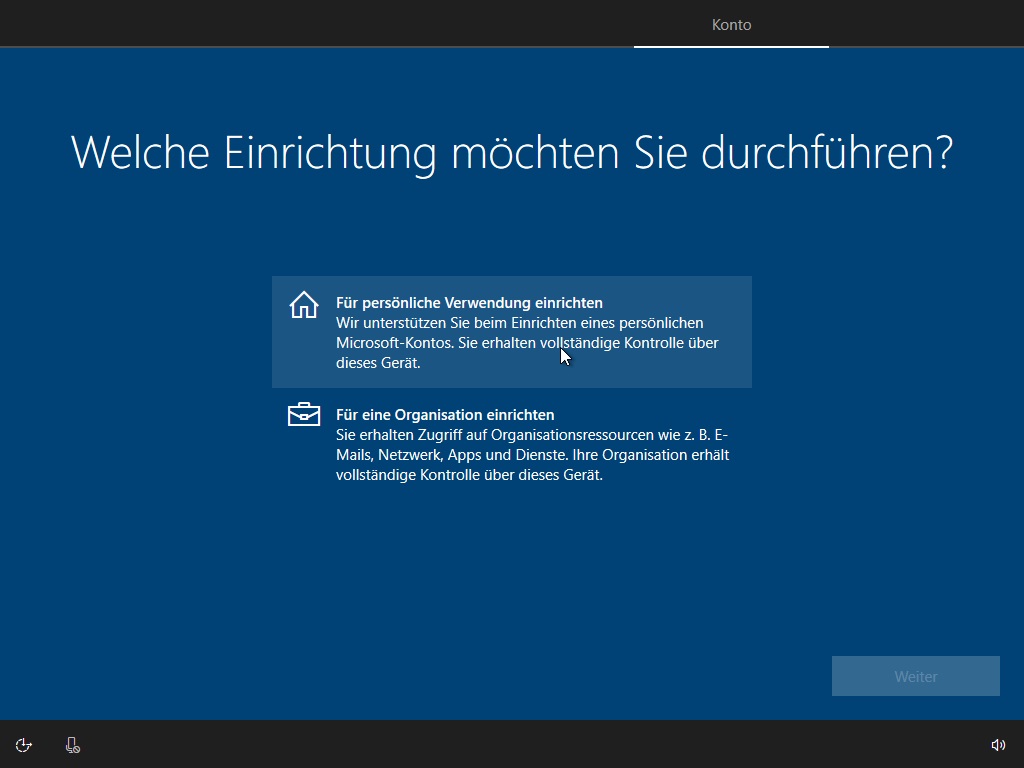
After a few more steps, the wizard will ask if it is a personal use device or a device managed by your administrator. Select “Set up for personal use” here.
After that, you need to specify some settings such as username, password or privacy options. After that, the installation is complete.


